As many experienced gardeners are aware, planting flower seeds is a relatively simple task. Like any worthwhile endeavor, it helps to understand some basic guidelines before you start. The following steps are designed to assist the home flower gardener in establishing a successful and stunning flower garden for years to come!

STEP 1 - CHOOSE YOUR SEASON
SPRING PLANTING: For most temperate regions of the United States, spring planting is best carried out within a month or so after the final frost of the winter season. The exact date will naturally vary based on your region and the severity of the winter season. The important thing is to not jump the gun and plant too early; if seeds are installed prior to a late-season frost, they will be lost for the season and will need to be re-seeded.
SUMMER PLANTING: Summer planting is advisable for cooler areas where temperatures don’t hover at 80 degrees or more for long periods of time.
FALL PLANTING: Though it may seem unusual to plant flower seeds in fall, it is actually the preferred time of year for many seasoned wildflower gardeners. The main benefit: a jump-start in blooms the following spring! However, if you do decide to plant your seeds in the fall, the trick is to do so after the first killing frost of the season and when the ground is almost frozen to eliminate any chance of germination. Use caution when considering the best time to plant as weather patterns can never be guaranteed.

STEP 2 - CHOOSE YOUR SITE
SUNLIGHT: Though many flowers do tolerate some filtered shade and a few actually thrive in it, the vast majority are definitely sun-lovers and will likely demonstrate the strongest bloom where exposure is greatest. The general rule of thumb when considering the optimum planting site on your property is “the more sun the better.” This naturally means the best areas have little or no tree coverage and as little obstruction from any structure such as a house, garage, or barn as possible.
SOIL QUALITY: Many flowers will generally sprout in all but the most difficult conditions. Pampering your soil may have the adverse effect on flower growth. However, you should always check specific planting instuctions to make sure you are giving your flowers the best shot.
WATER ACCESSIBILITY: The availability of a steady watering source is helpful, but not usually necessary. In most regions and during most seasons, natural rainfall will be sufficient to provide the water necessary for a successful bloom. Certain varieties may need more watering than others so make sure to check each variety to make sure your flowers are getting the right amount.

STEP 3 - PREPARE THE SOIL
PREPARE THE SOIL: This is an absolutely vital step in the installation of any successful flower seed project. Though it may sound tempting to randomly cast your seeds into thin air and hope they will sprout, it is simply a waste of time and money to do so on a site that has not been properly prepared for planting. Though many flower seeds are tenacious by nature, others are more delicate and need some pampering. Therefore, the best path forward is to remove as much unwanted debris from the site as possible before planting.
There are several ways to effectively remove existing growth and cultivate your soil, and the size of the site will typically be the deciding factor in which method is ultimately chosen. For smaller sites, a rake, hoe, or shovel is often sufficient to do the trick of removing unwanted grass, weeds, etc. For larger sites, a roto-tiller is often the preferred method. Regardless of what tool or machine is used, the important thing to remember is that the more growth you remove, and the more the soil is loosened, the better the environment will be for your seeds to thrive.
The bottom line is: work the soil as best you can, but don’t panic when some weeds sprout along with the flowers!
STEP 4 - SOW THE SEED
So now you’ve got some sweat on your brow and you’re ready to plant! There are many effective installation techniques, but again, the size of the project will probably determine which makes the most sense for you. Two methods that are most advisable for the home-owner are:
The Hand-Broadcast Method: Useful for smaller jobs. Simply scattering the seed evenly over the site by hand.
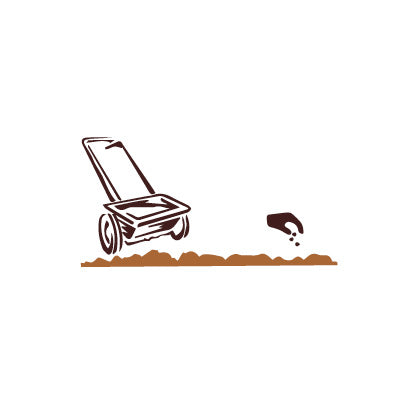
The Rotary or “Cyclone” Seeder: Used for larger jobs. This method accomplishes the same results through the use of a hand-cranked spreader that can be purchased at any garden center.
STORING FLOWER SEEDS:
If you are not ready for planting, store your seeds in a cool, dry, and dark location. Most seeds have a long shelf life, but heat and moisture will shorten it. Dedicate a drawer or cabinet to storing your seeds where you can also house your gardening journal close at hand for dreaming, planning, and preparing.